Buggazi on Claude Web
Two-minute setup. No install, no CLI, no API key up front. Add one custom connector and Claude files bugs, plans features and runs sprints for you.
1 Open Settings → Connectors
In claude.ai, click your initials at the bottom-left, then Settings → Connectors. Open the Add menu and choose Add custom connector.
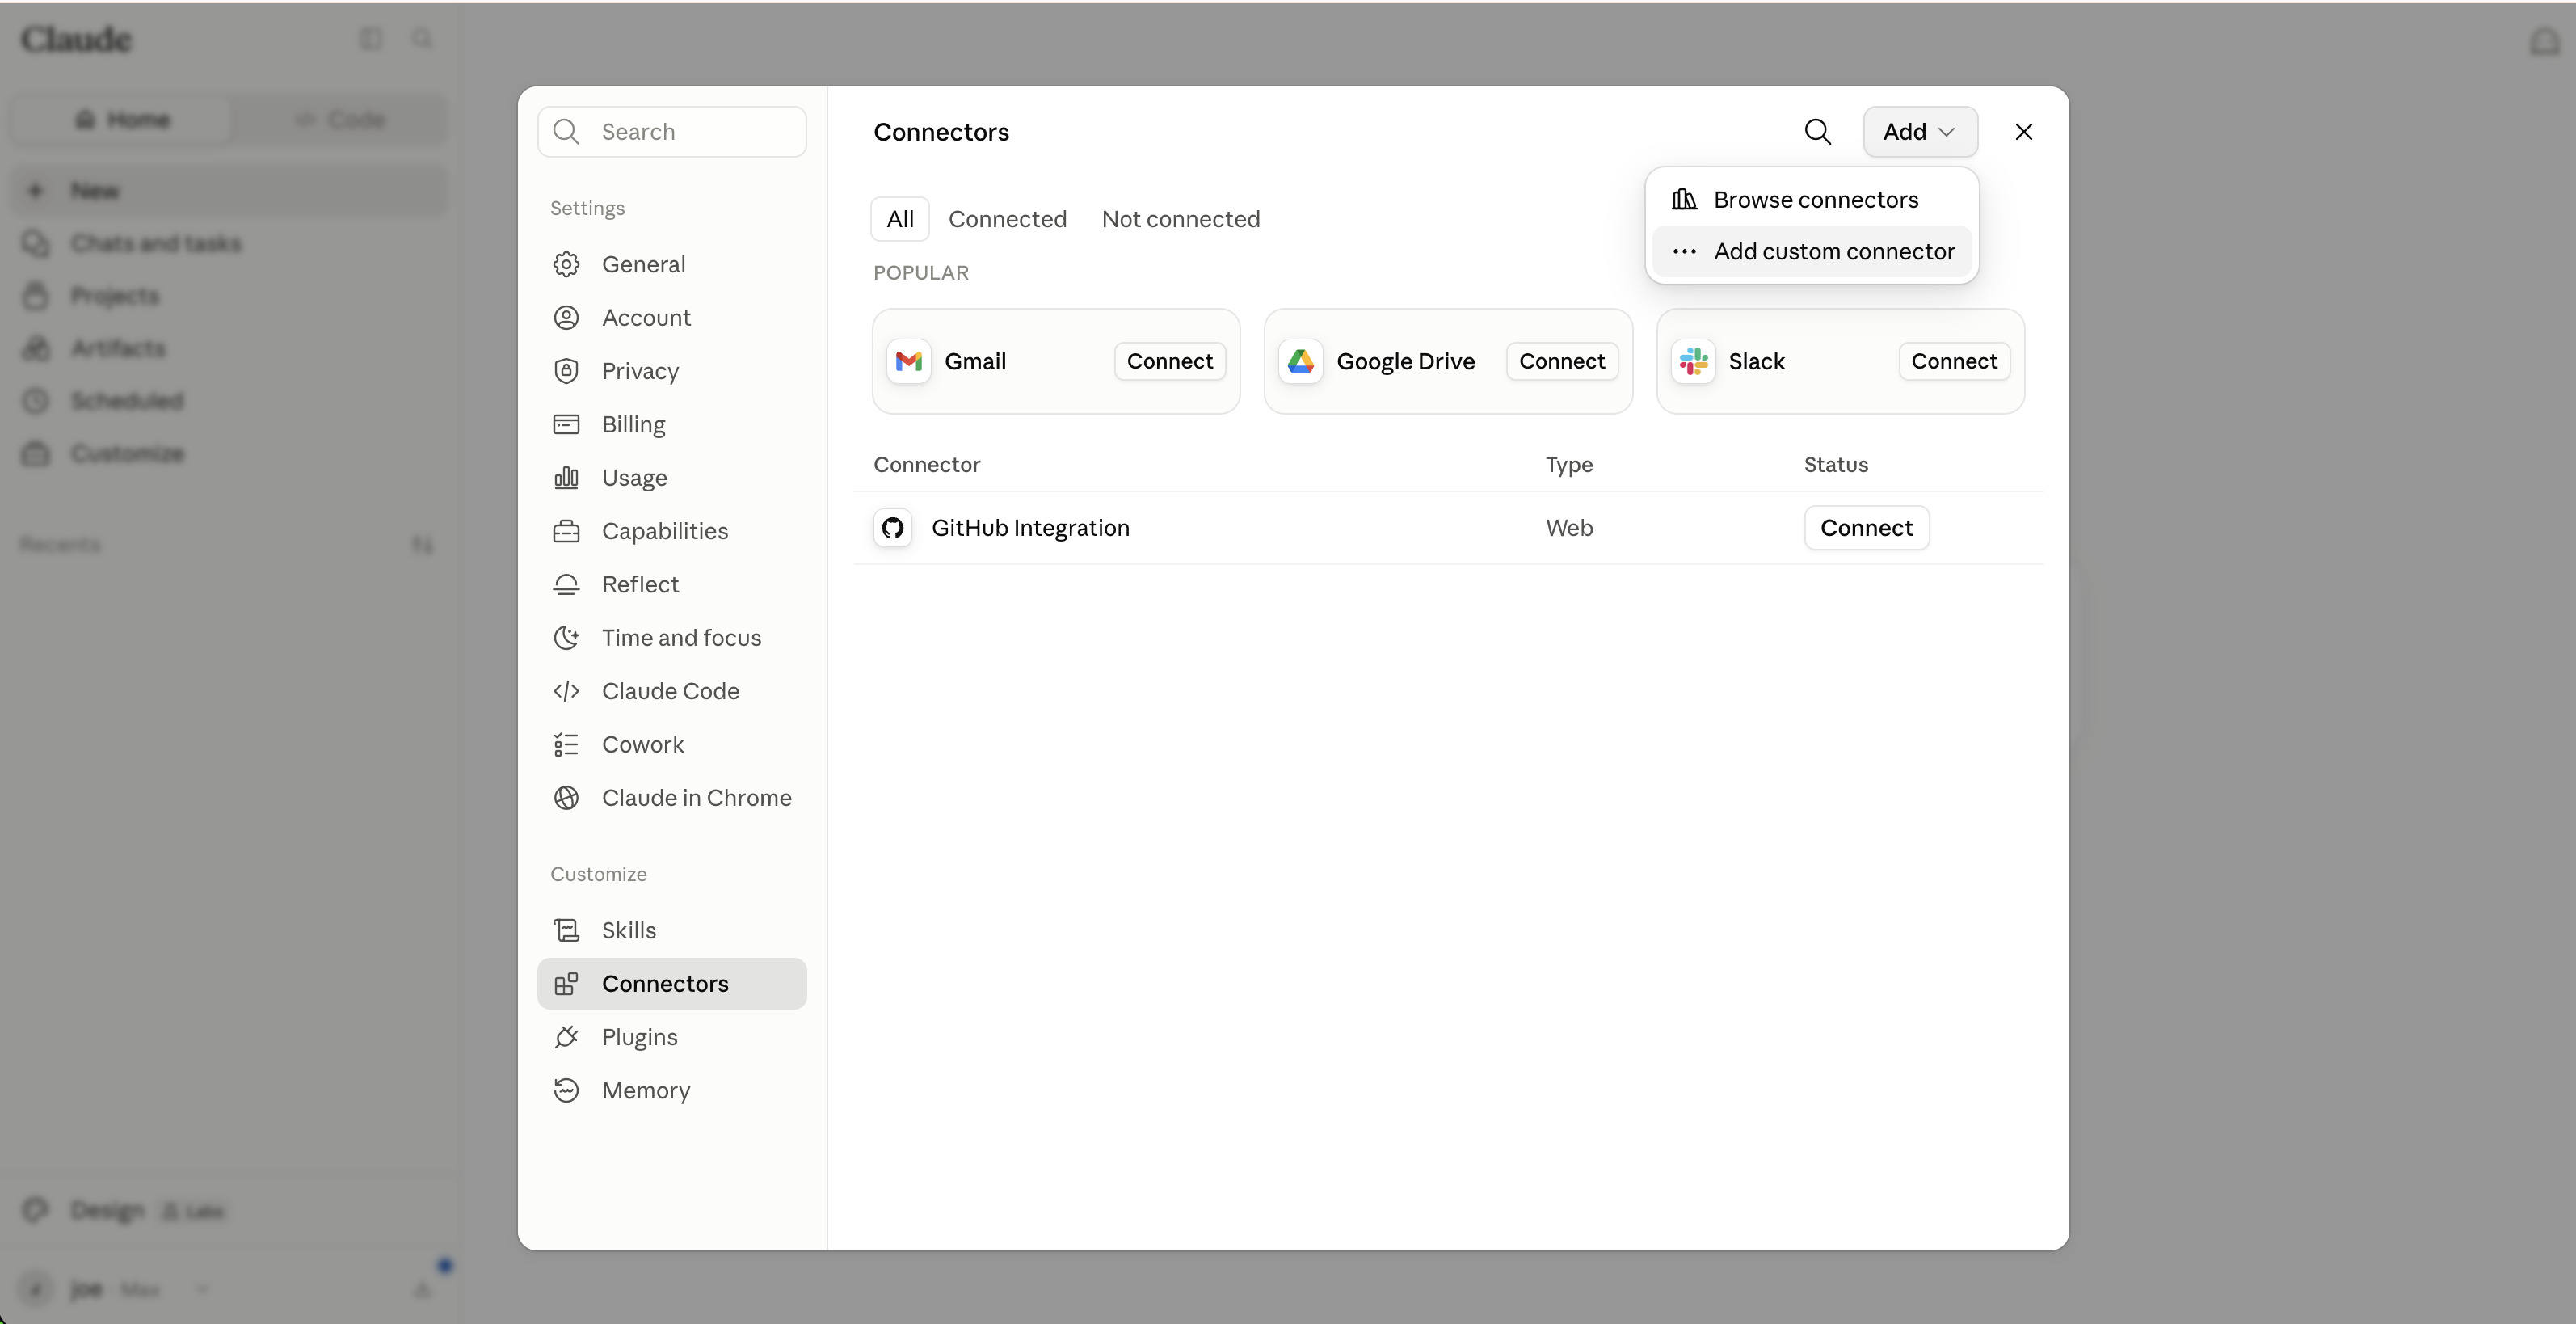
2 Add the Buggazi connector
Name it Buggazi and paste the remote MCP server URL. Leave the OAuth Client ID / Secret fields empty, then click Add.
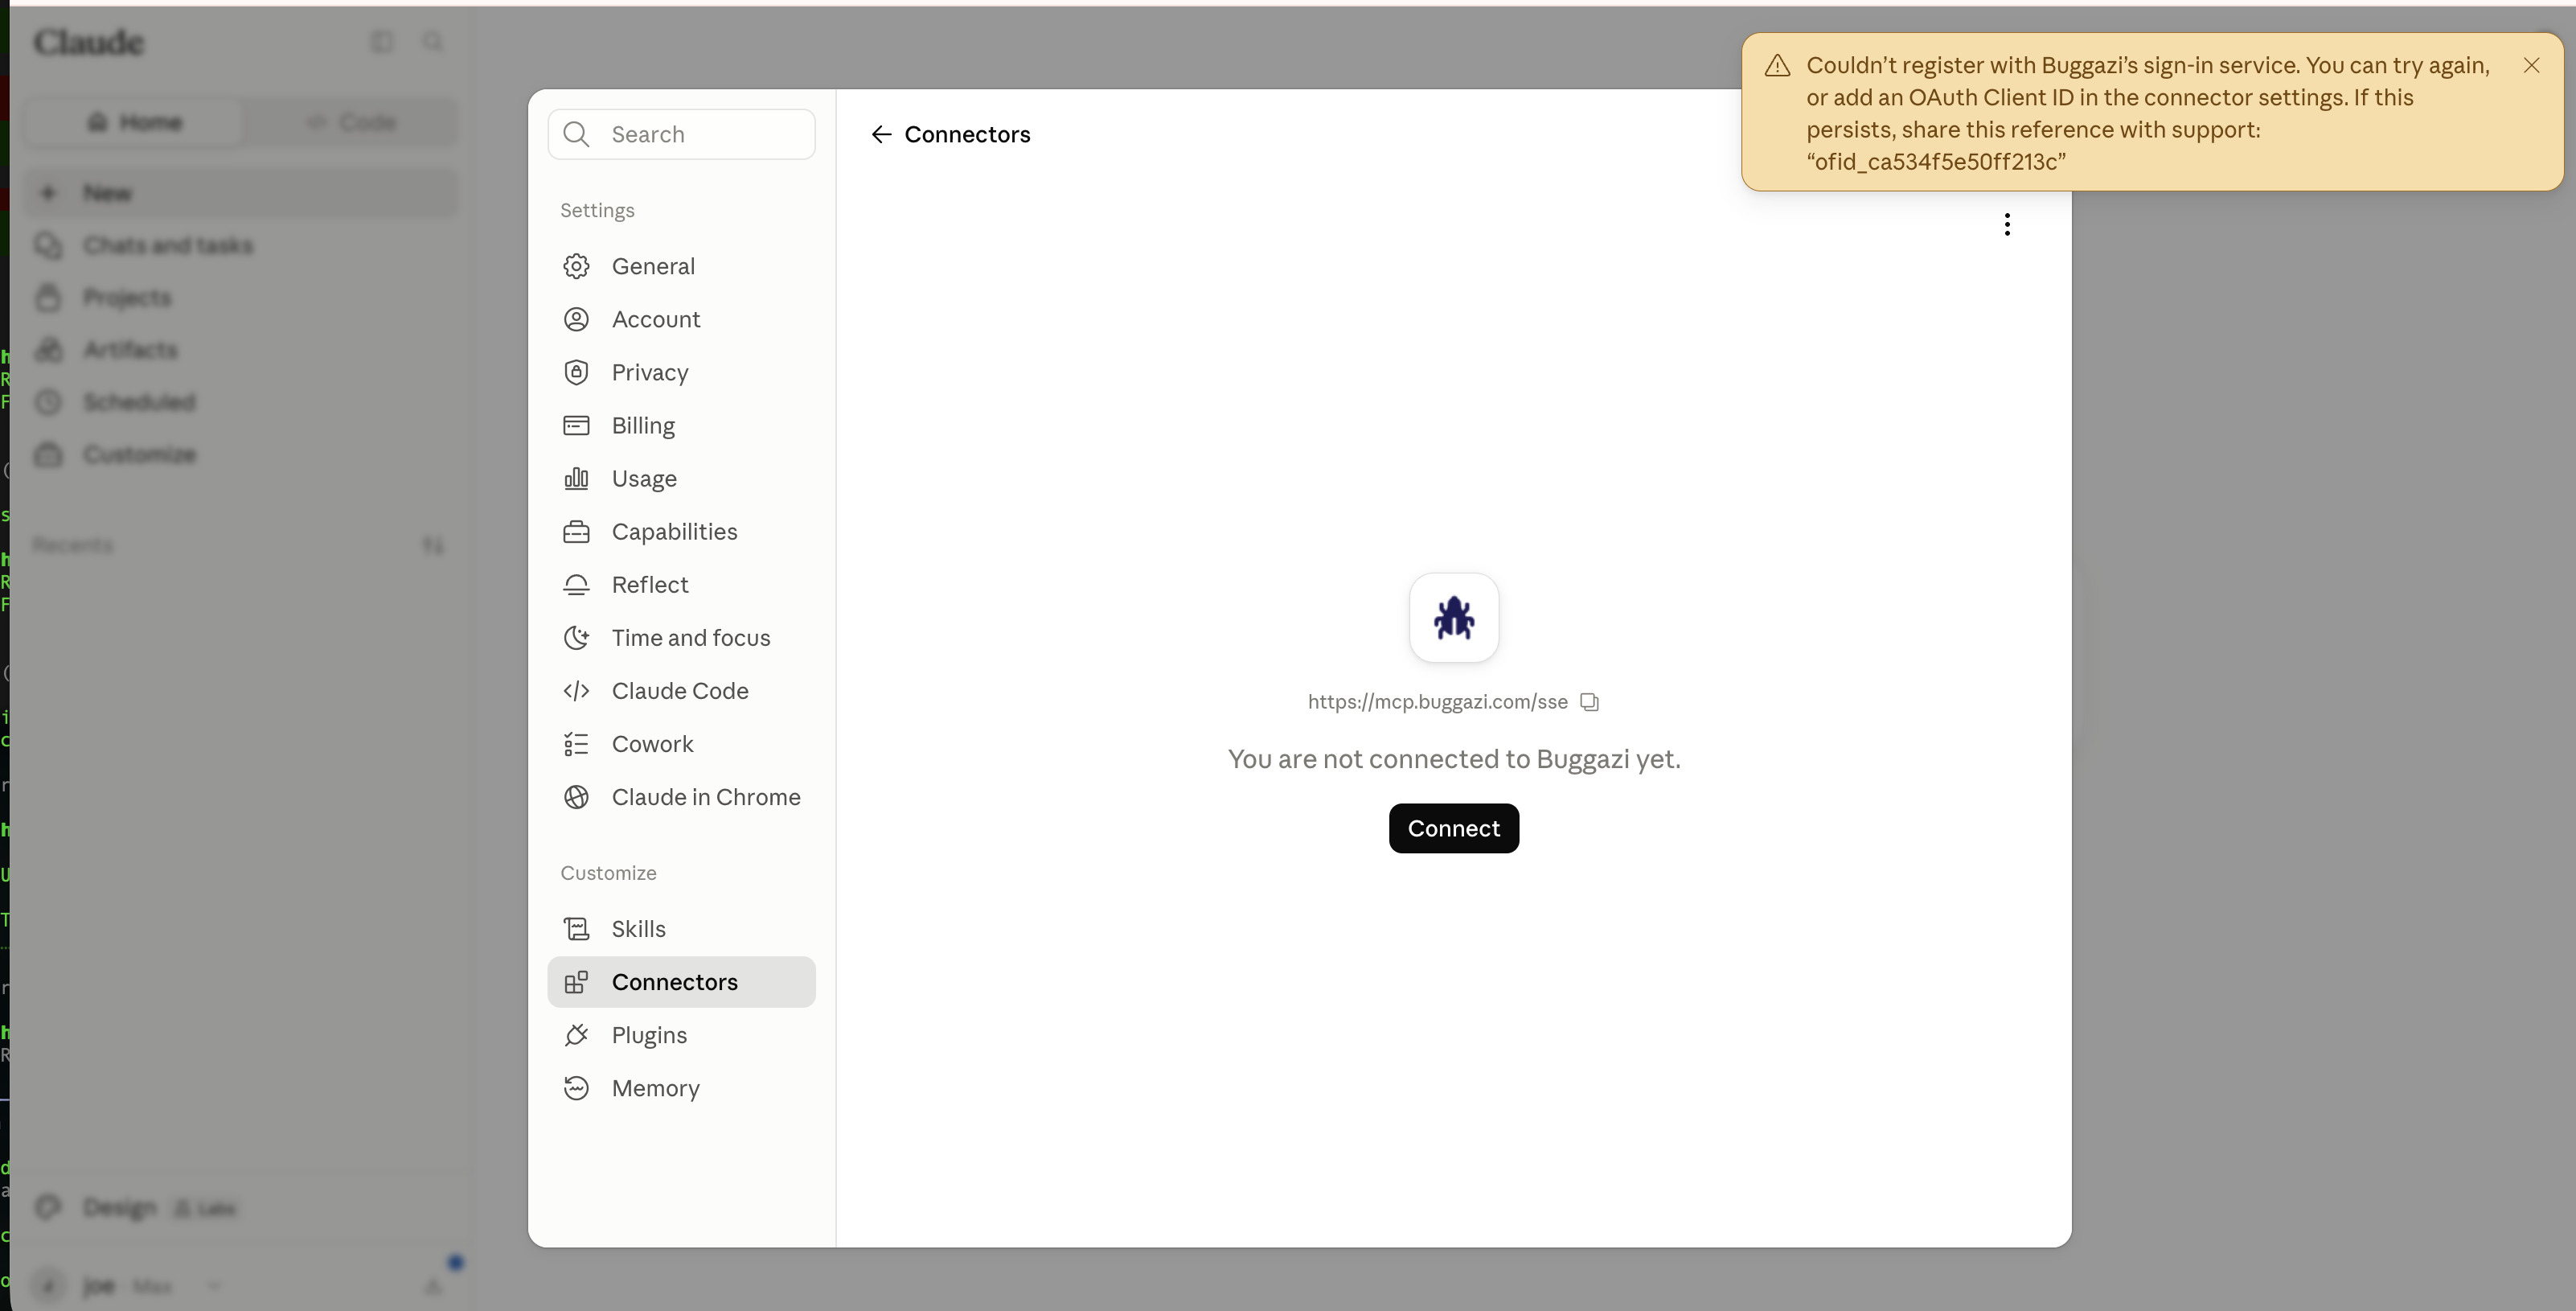
https://mcp.buggazi.com/sse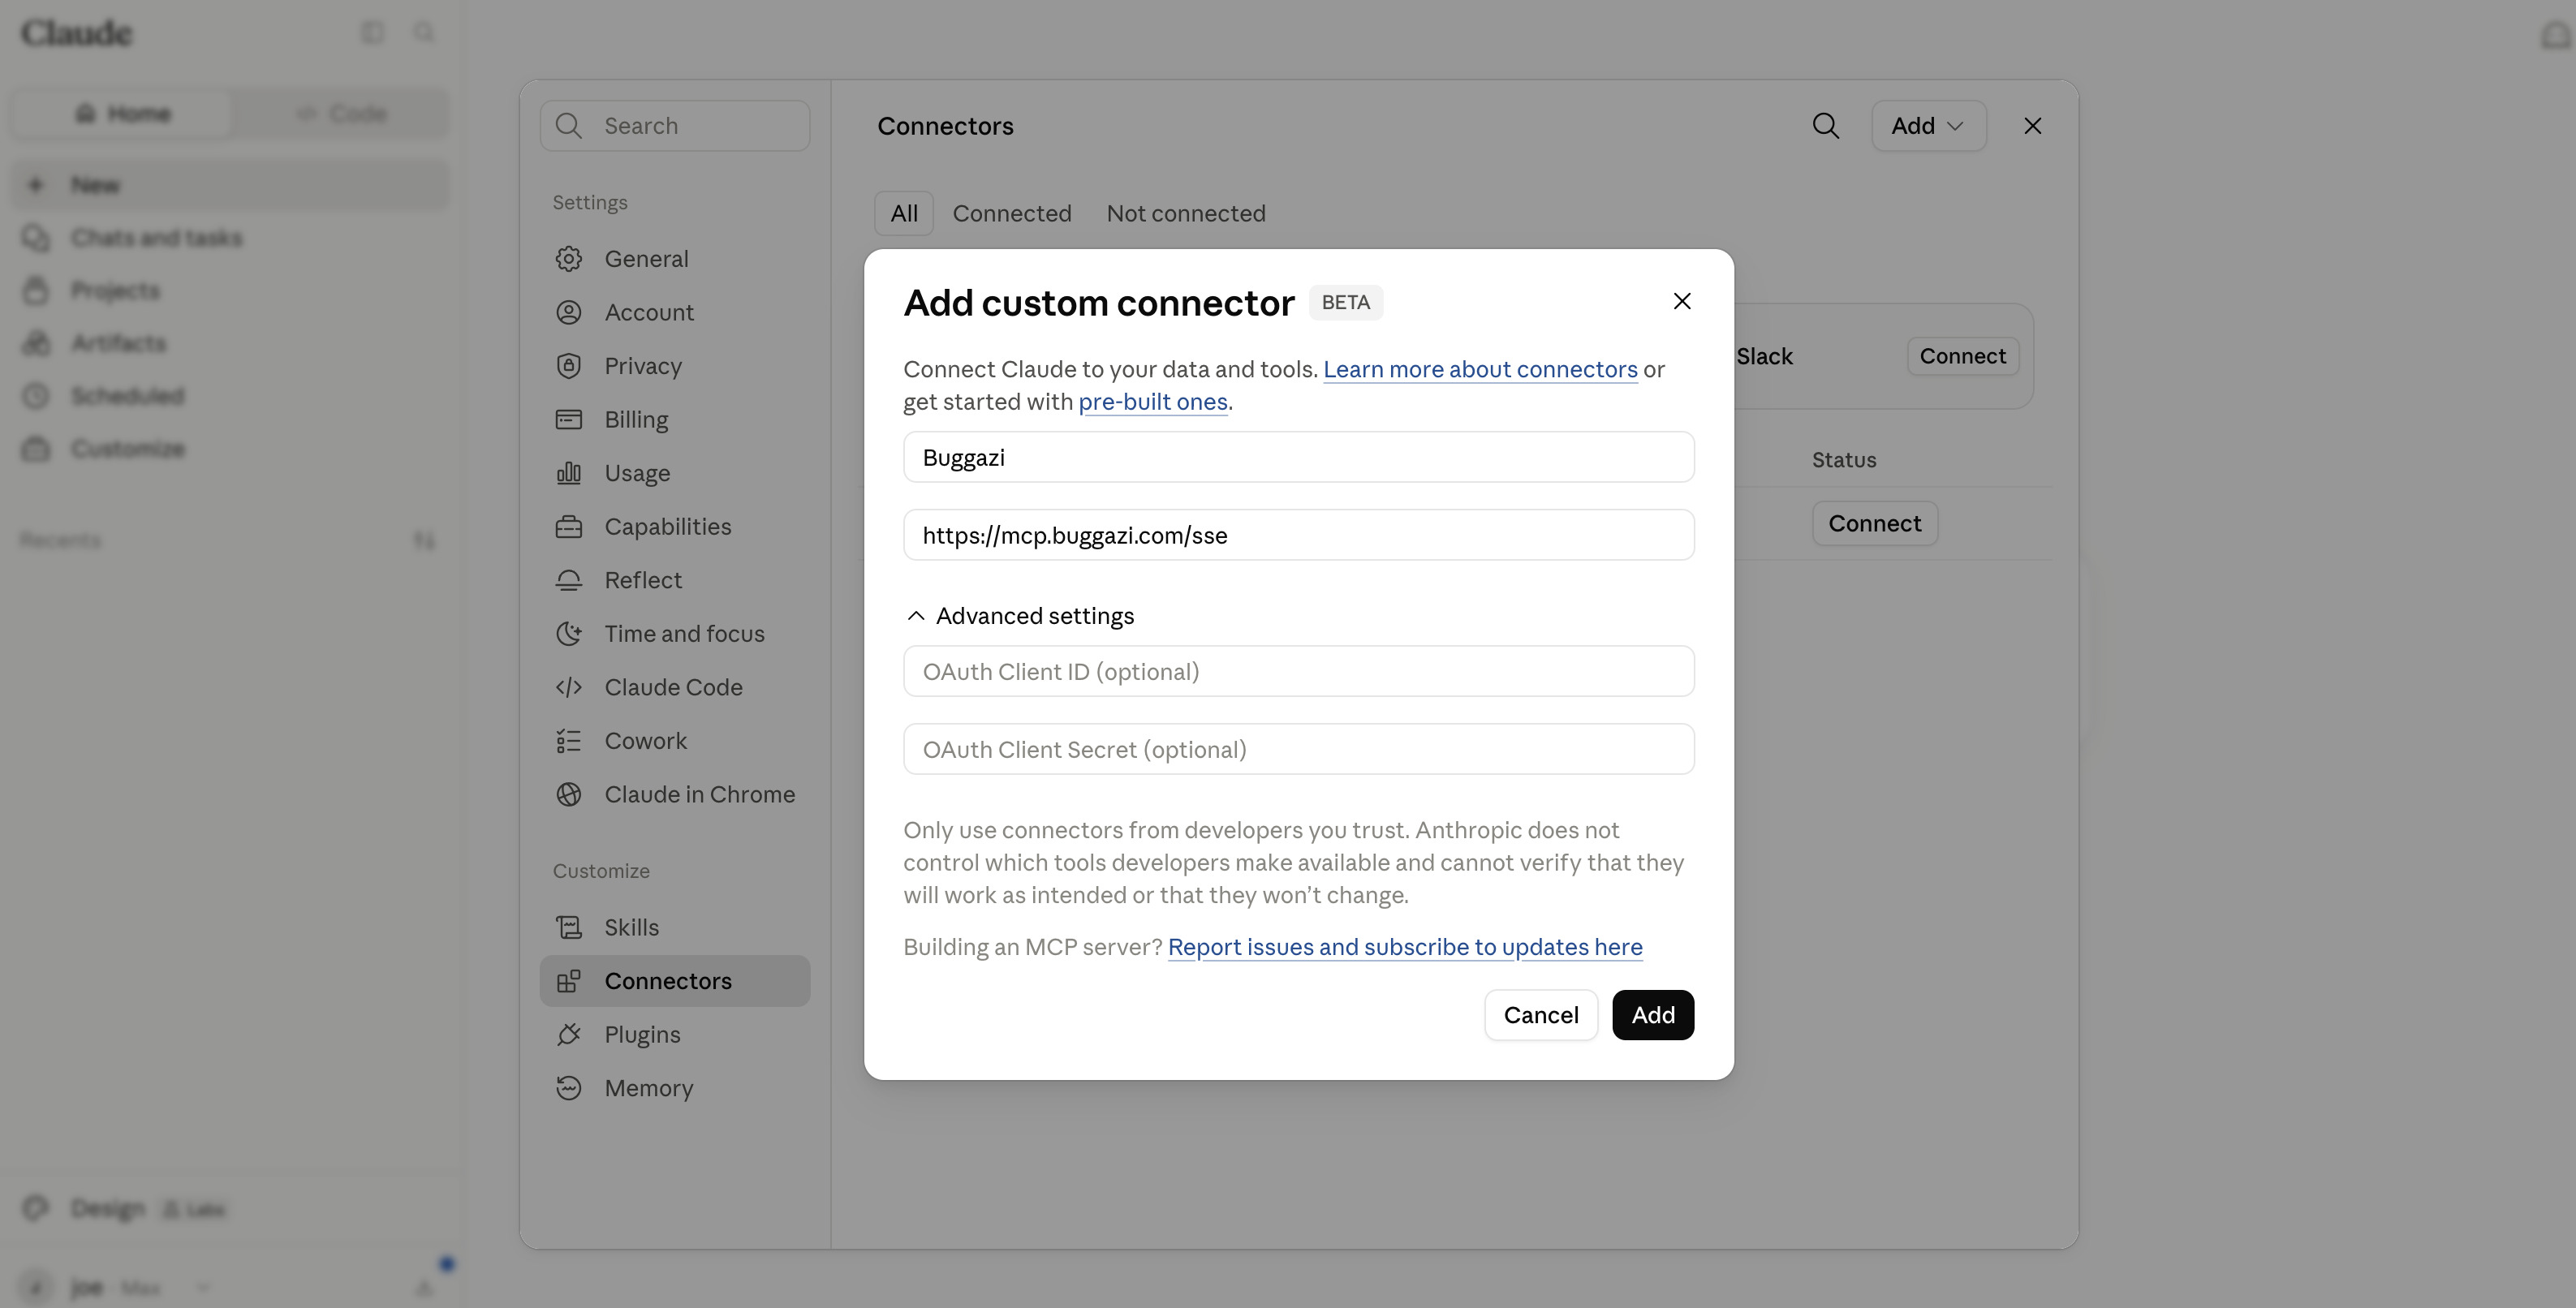
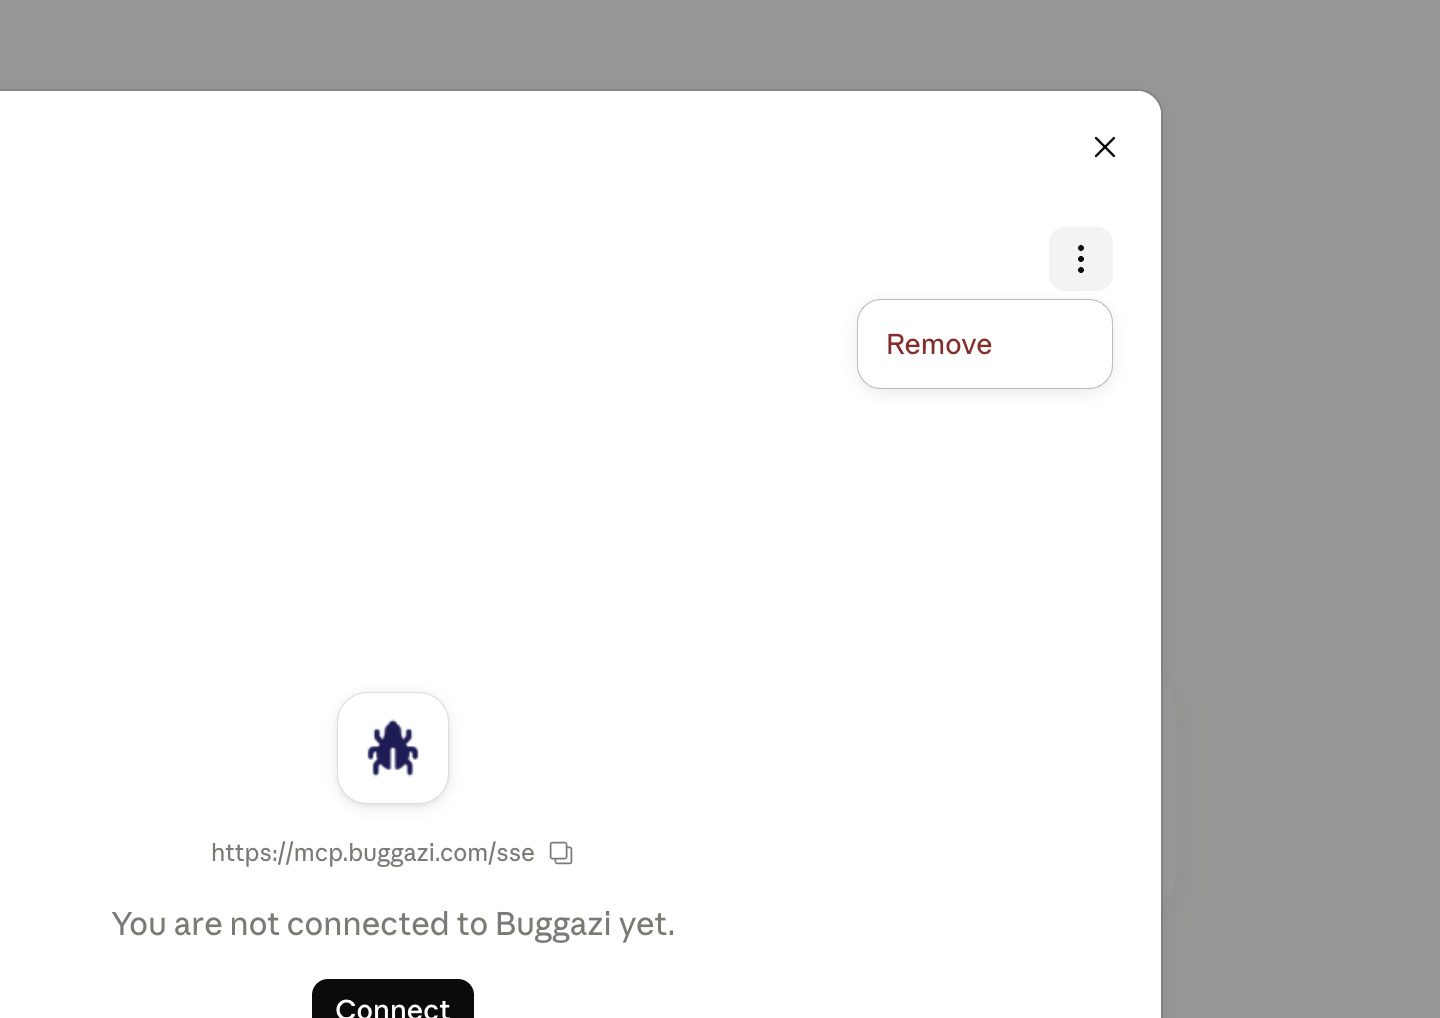
··· menu, click Remove, then add it again with the same URL. It connects on the retry.
3 Review tool permissions
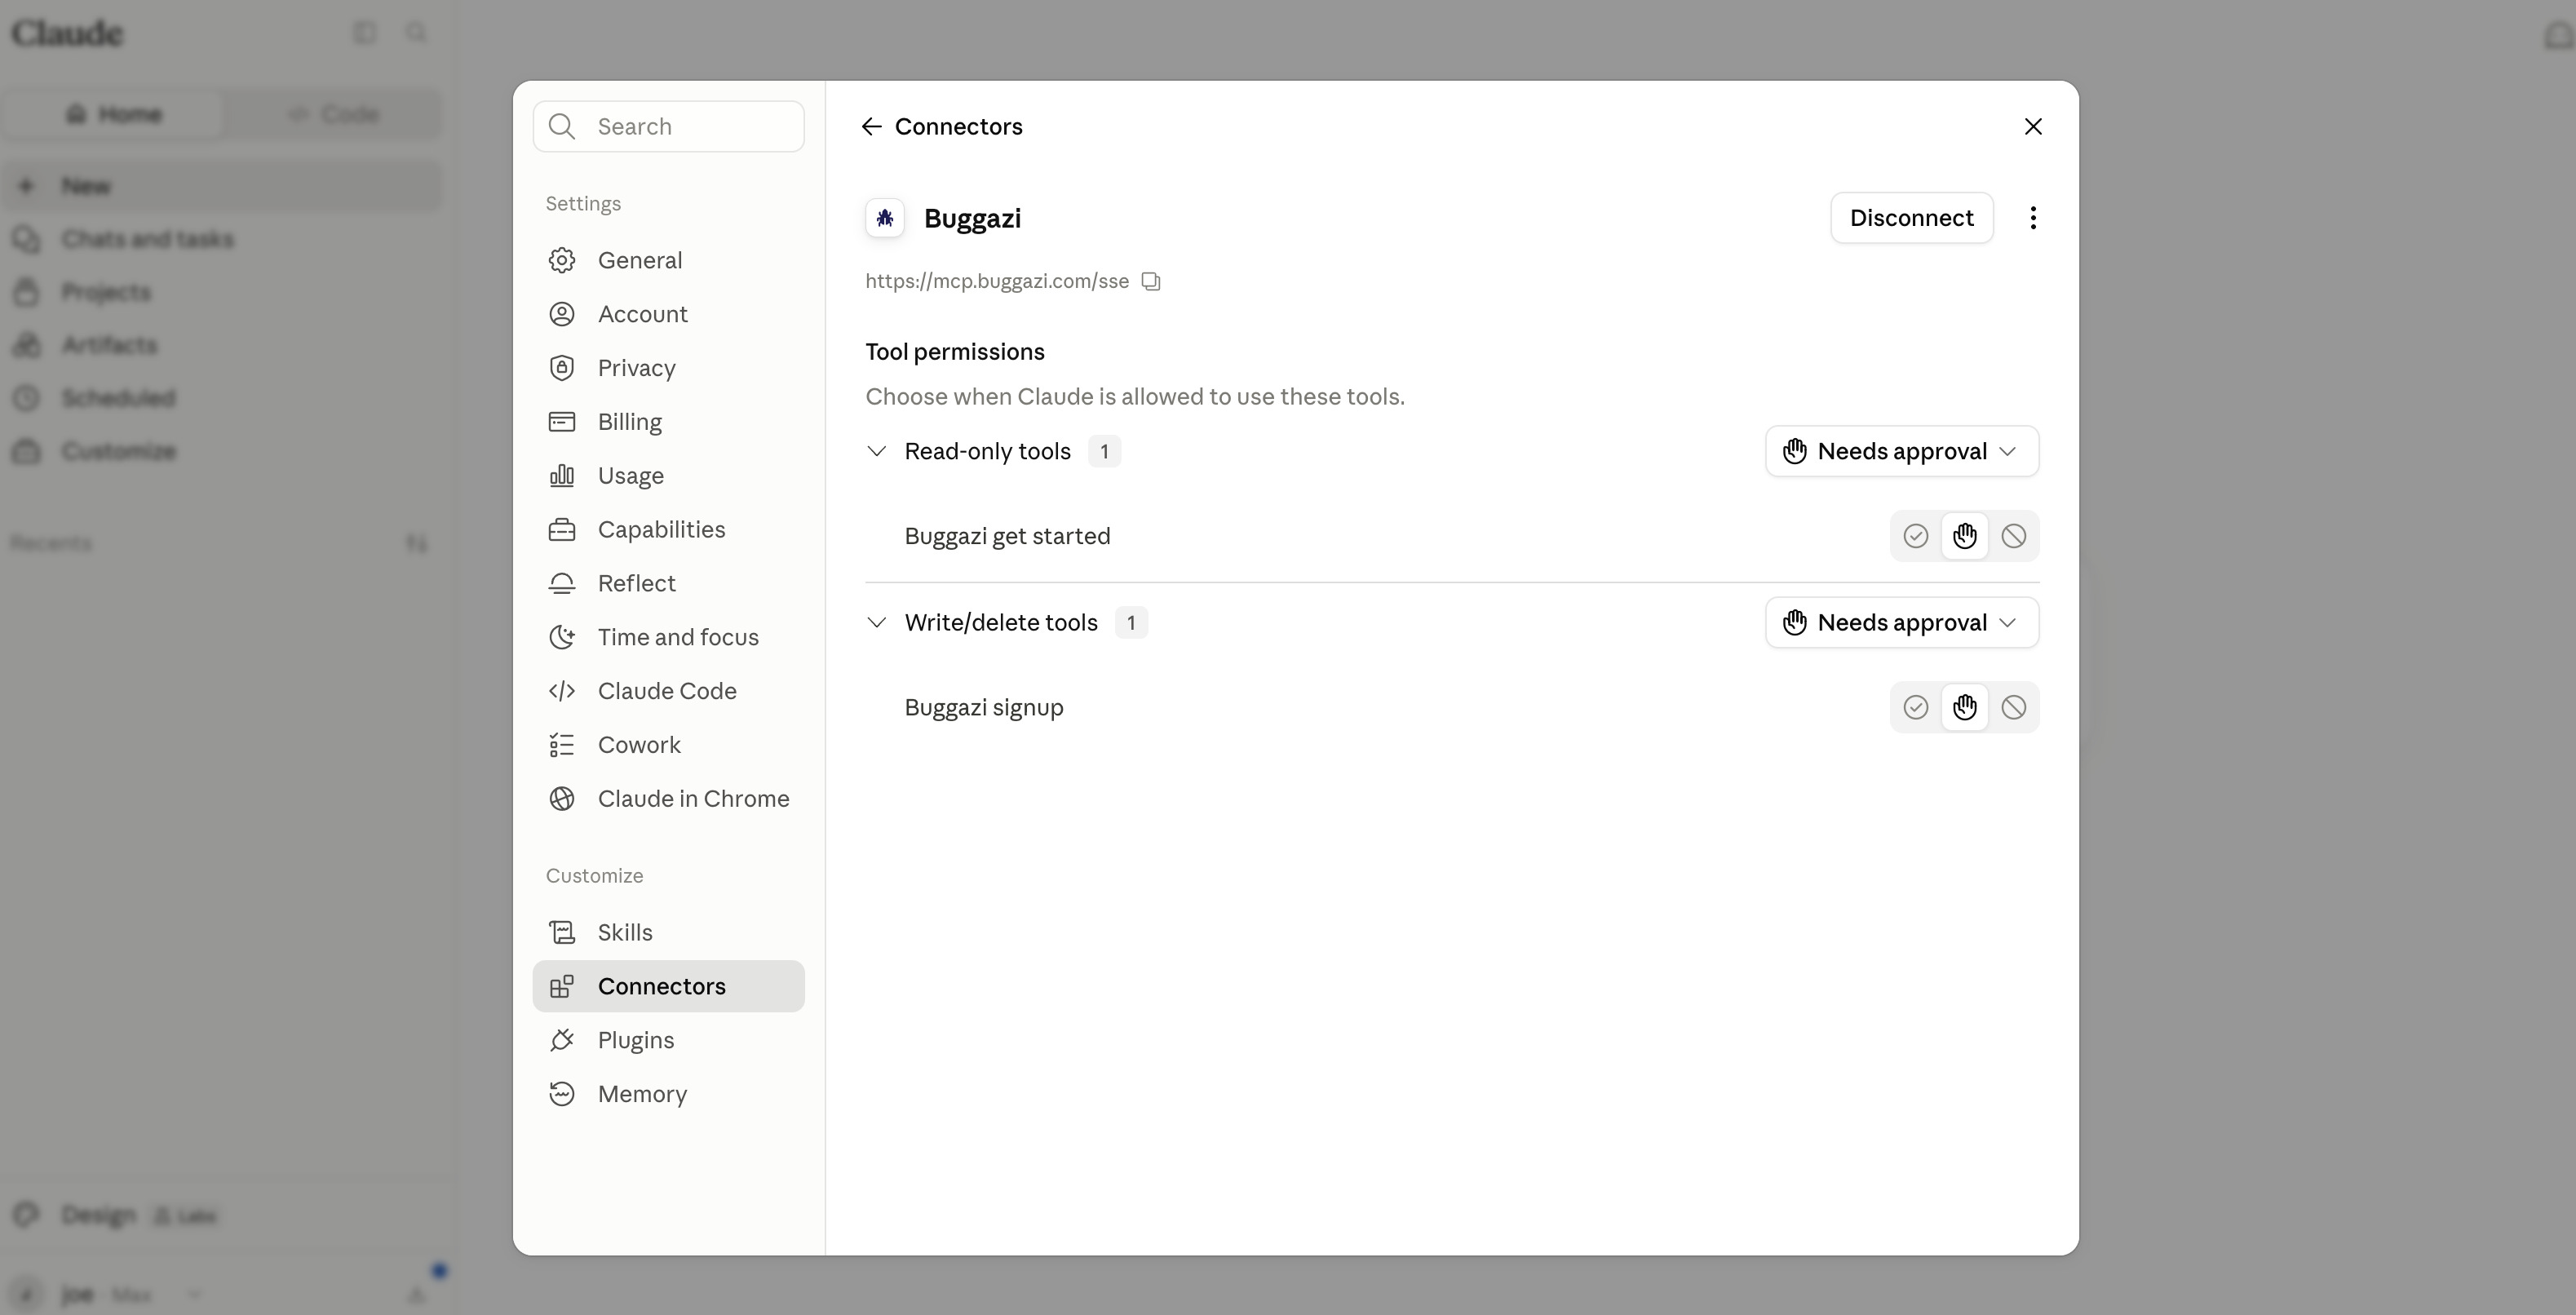
Two tools appear before you have a key: buggazi_get_started (read-only) and buggazi_signup (write). You can leave both on Needs approval — you'll be asked once for each in the next steps. Every other Buggazi tool unlocks after signup.
4 Start a new chat and ask
Open a fresh conversation — the connector is active automatically in every chat. Type a plain-English request:
Get started with Buggazi and open a project called my-app.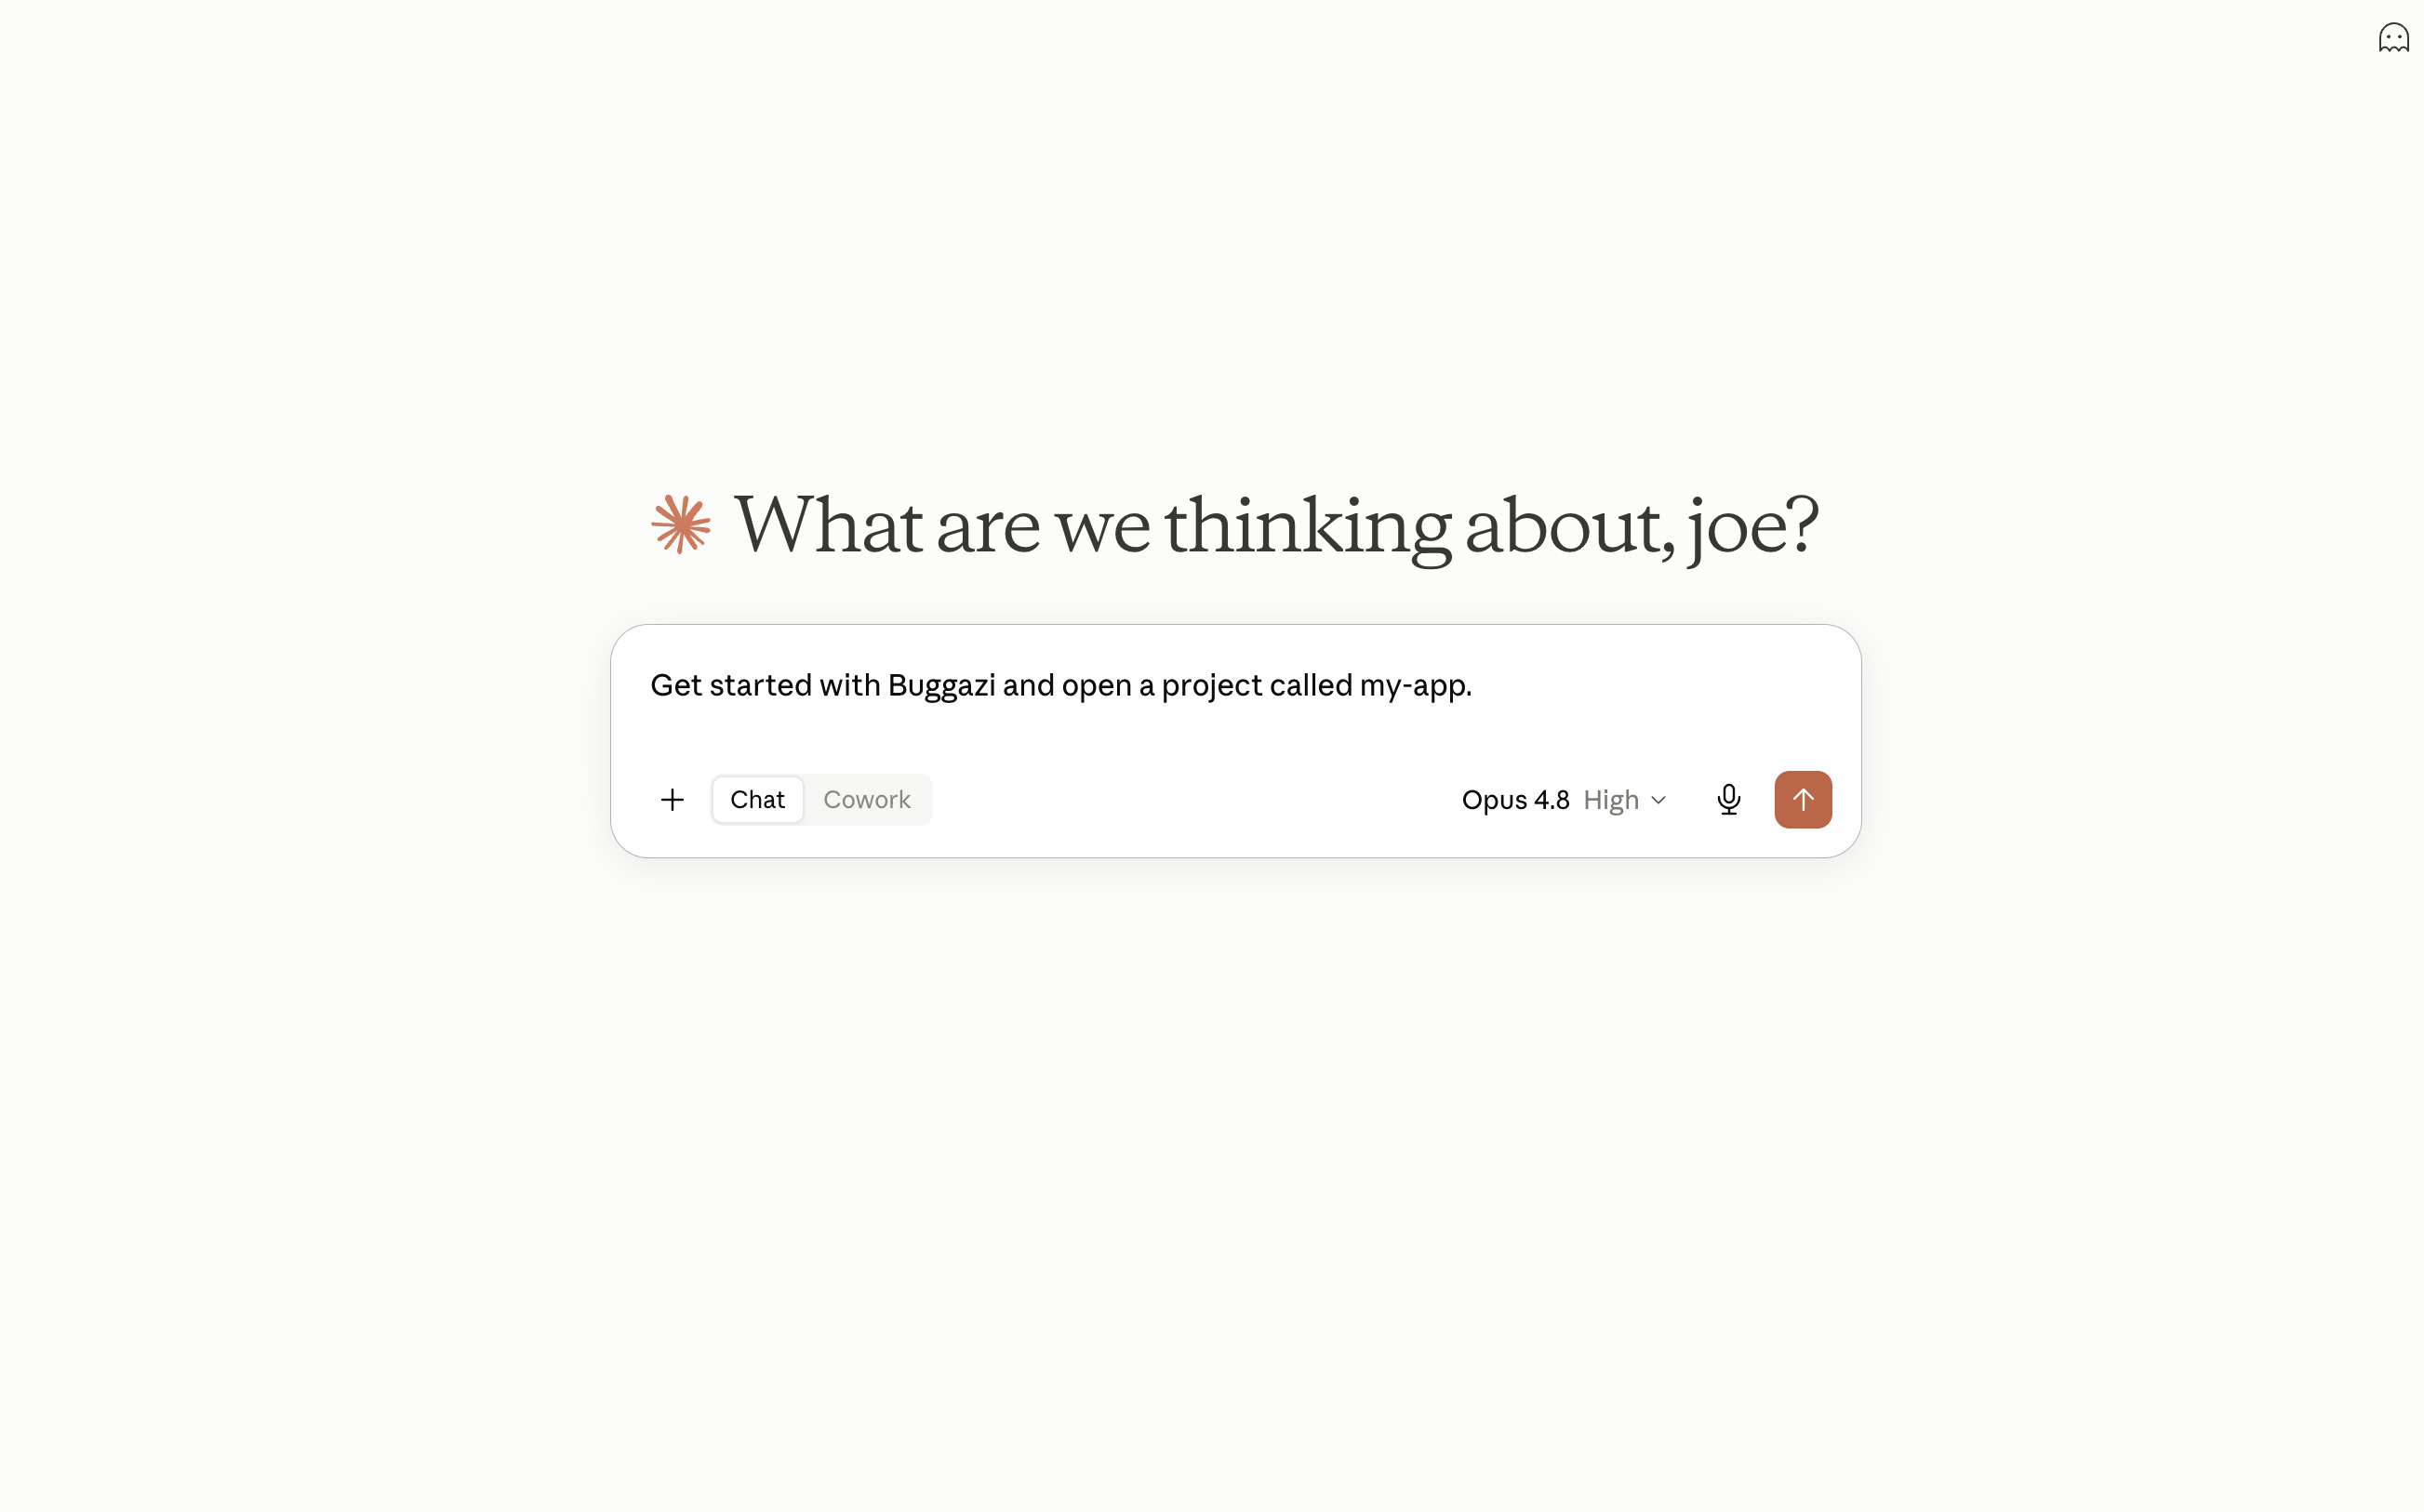
5 Let Claude read the guide
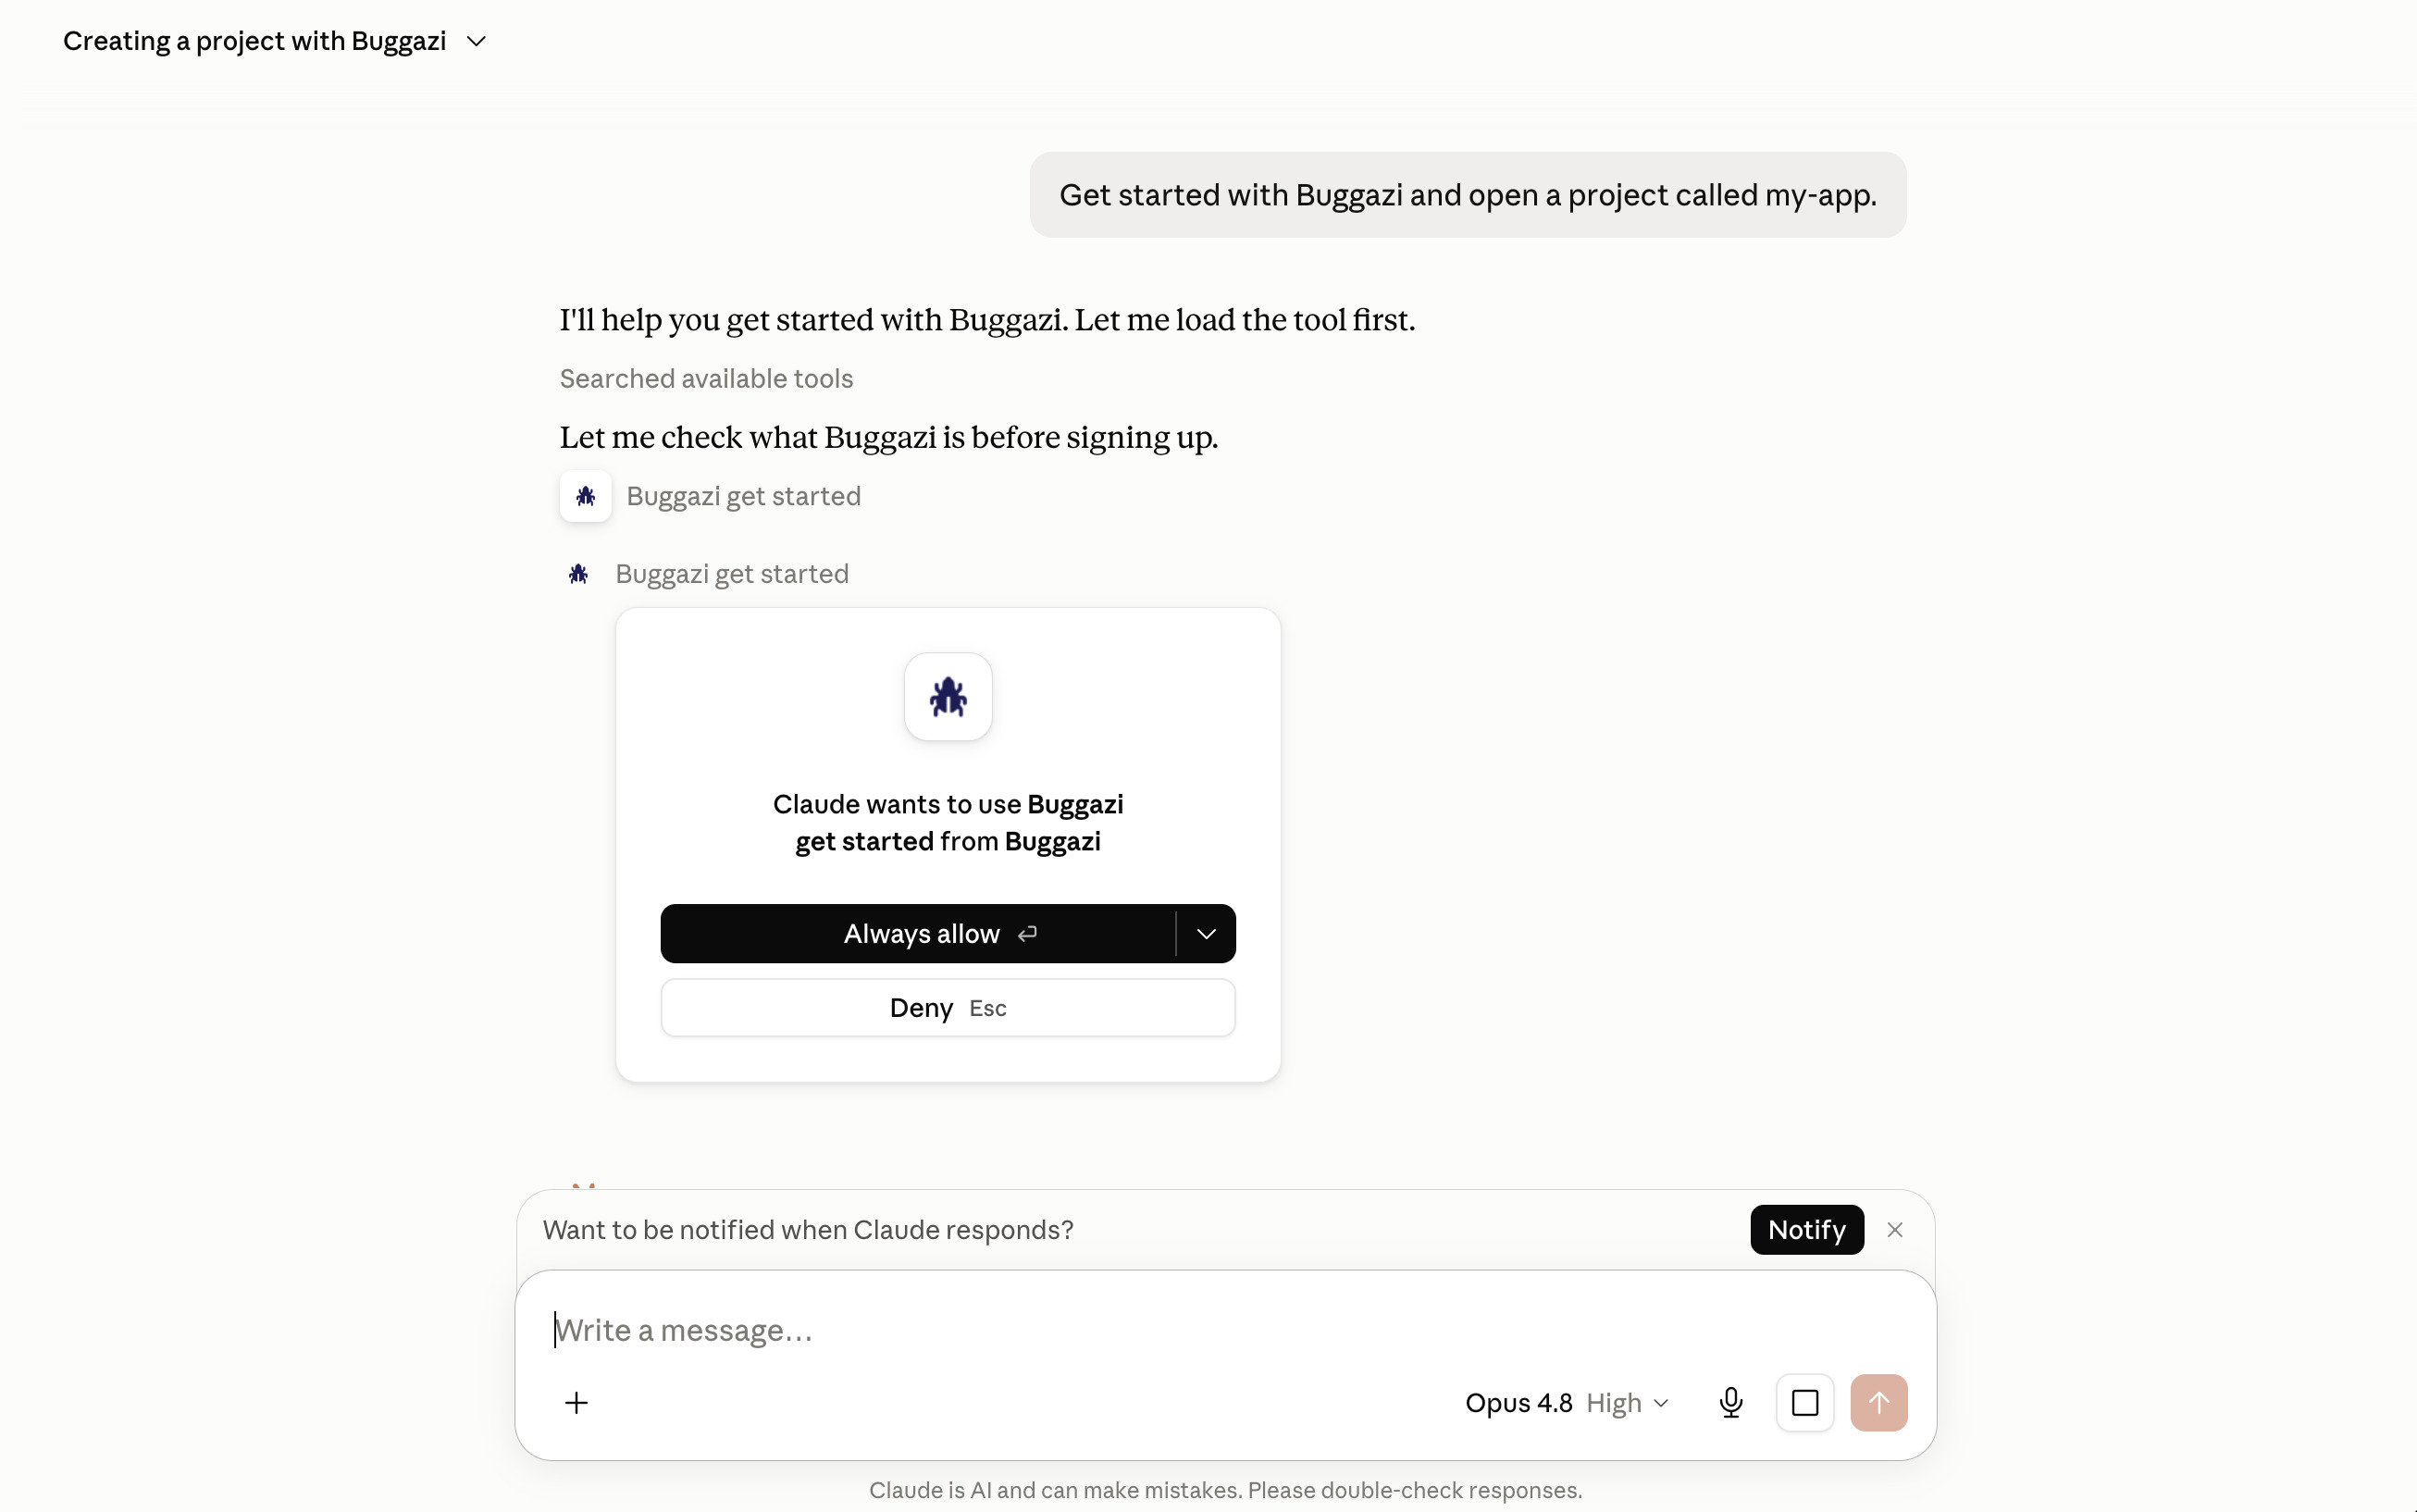
Claude first calls buggazi_get_started to learn the flow. Click Allow — it's read-only.
6 Claude proposes signup
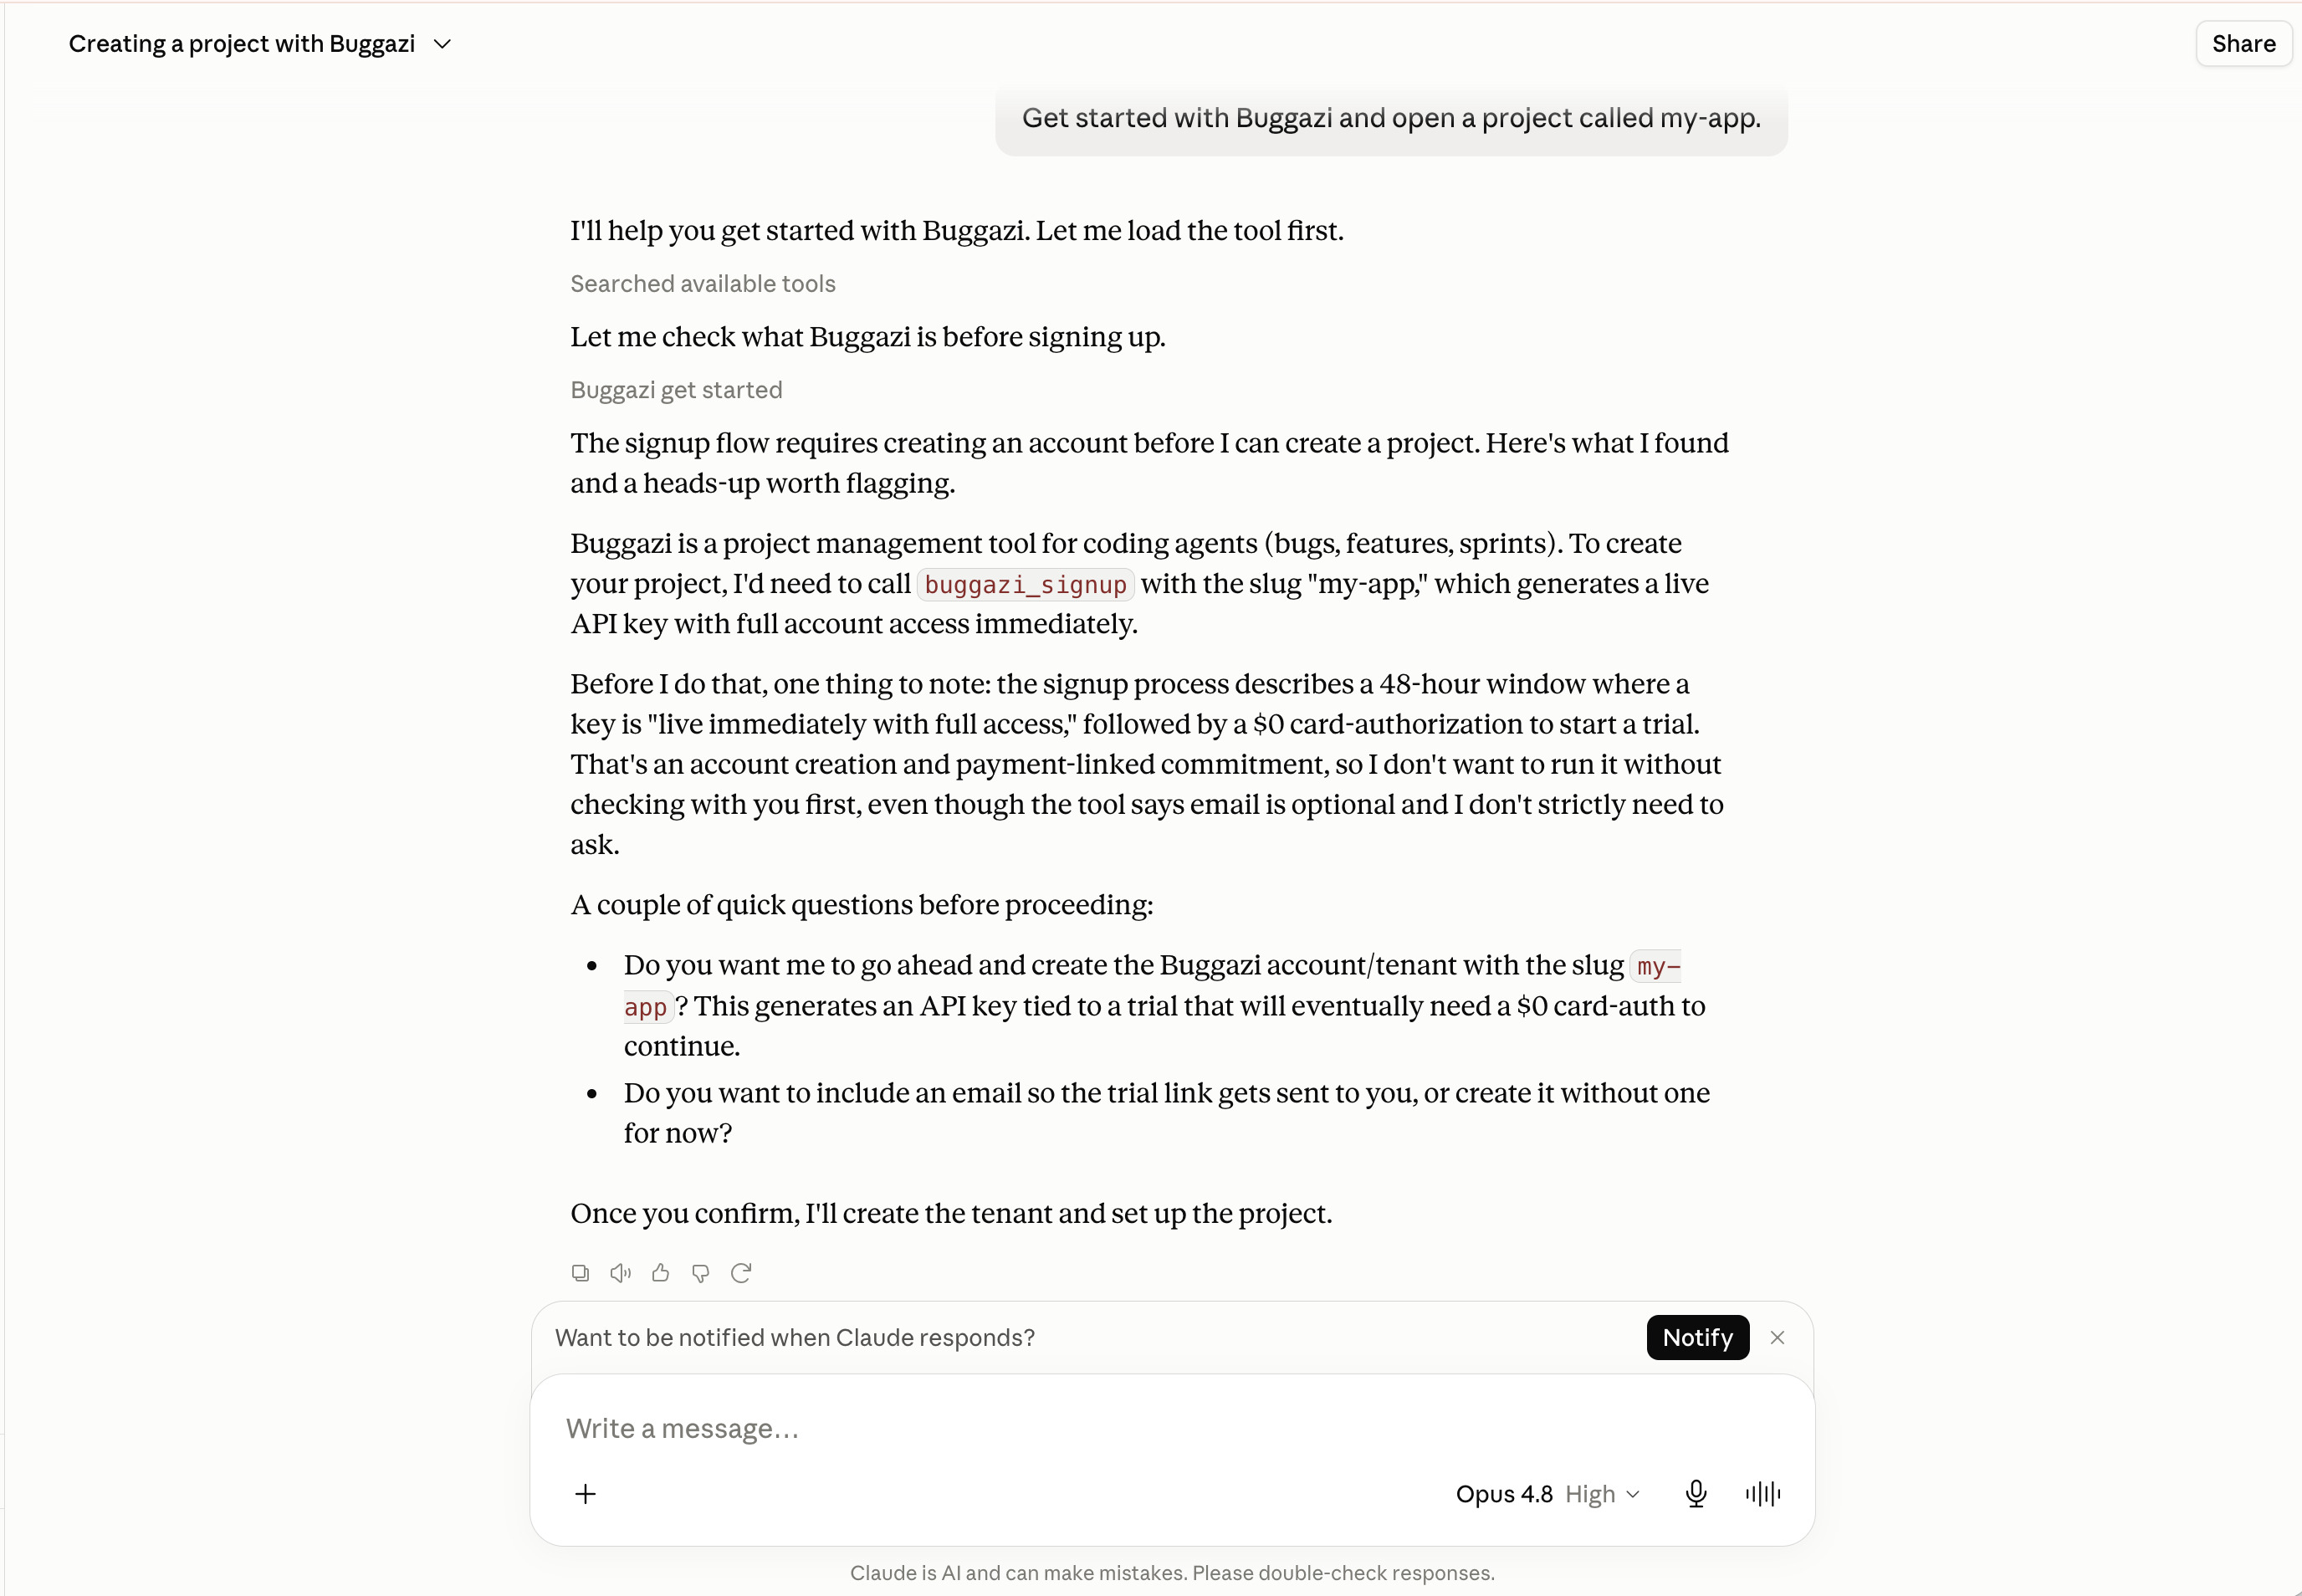
Claude explains the flow back to you: the key is live immediately with full access for a 48-hour window, then a $0 card-authorization starts the free trial. It confirms that email is optional before creating the tenant.
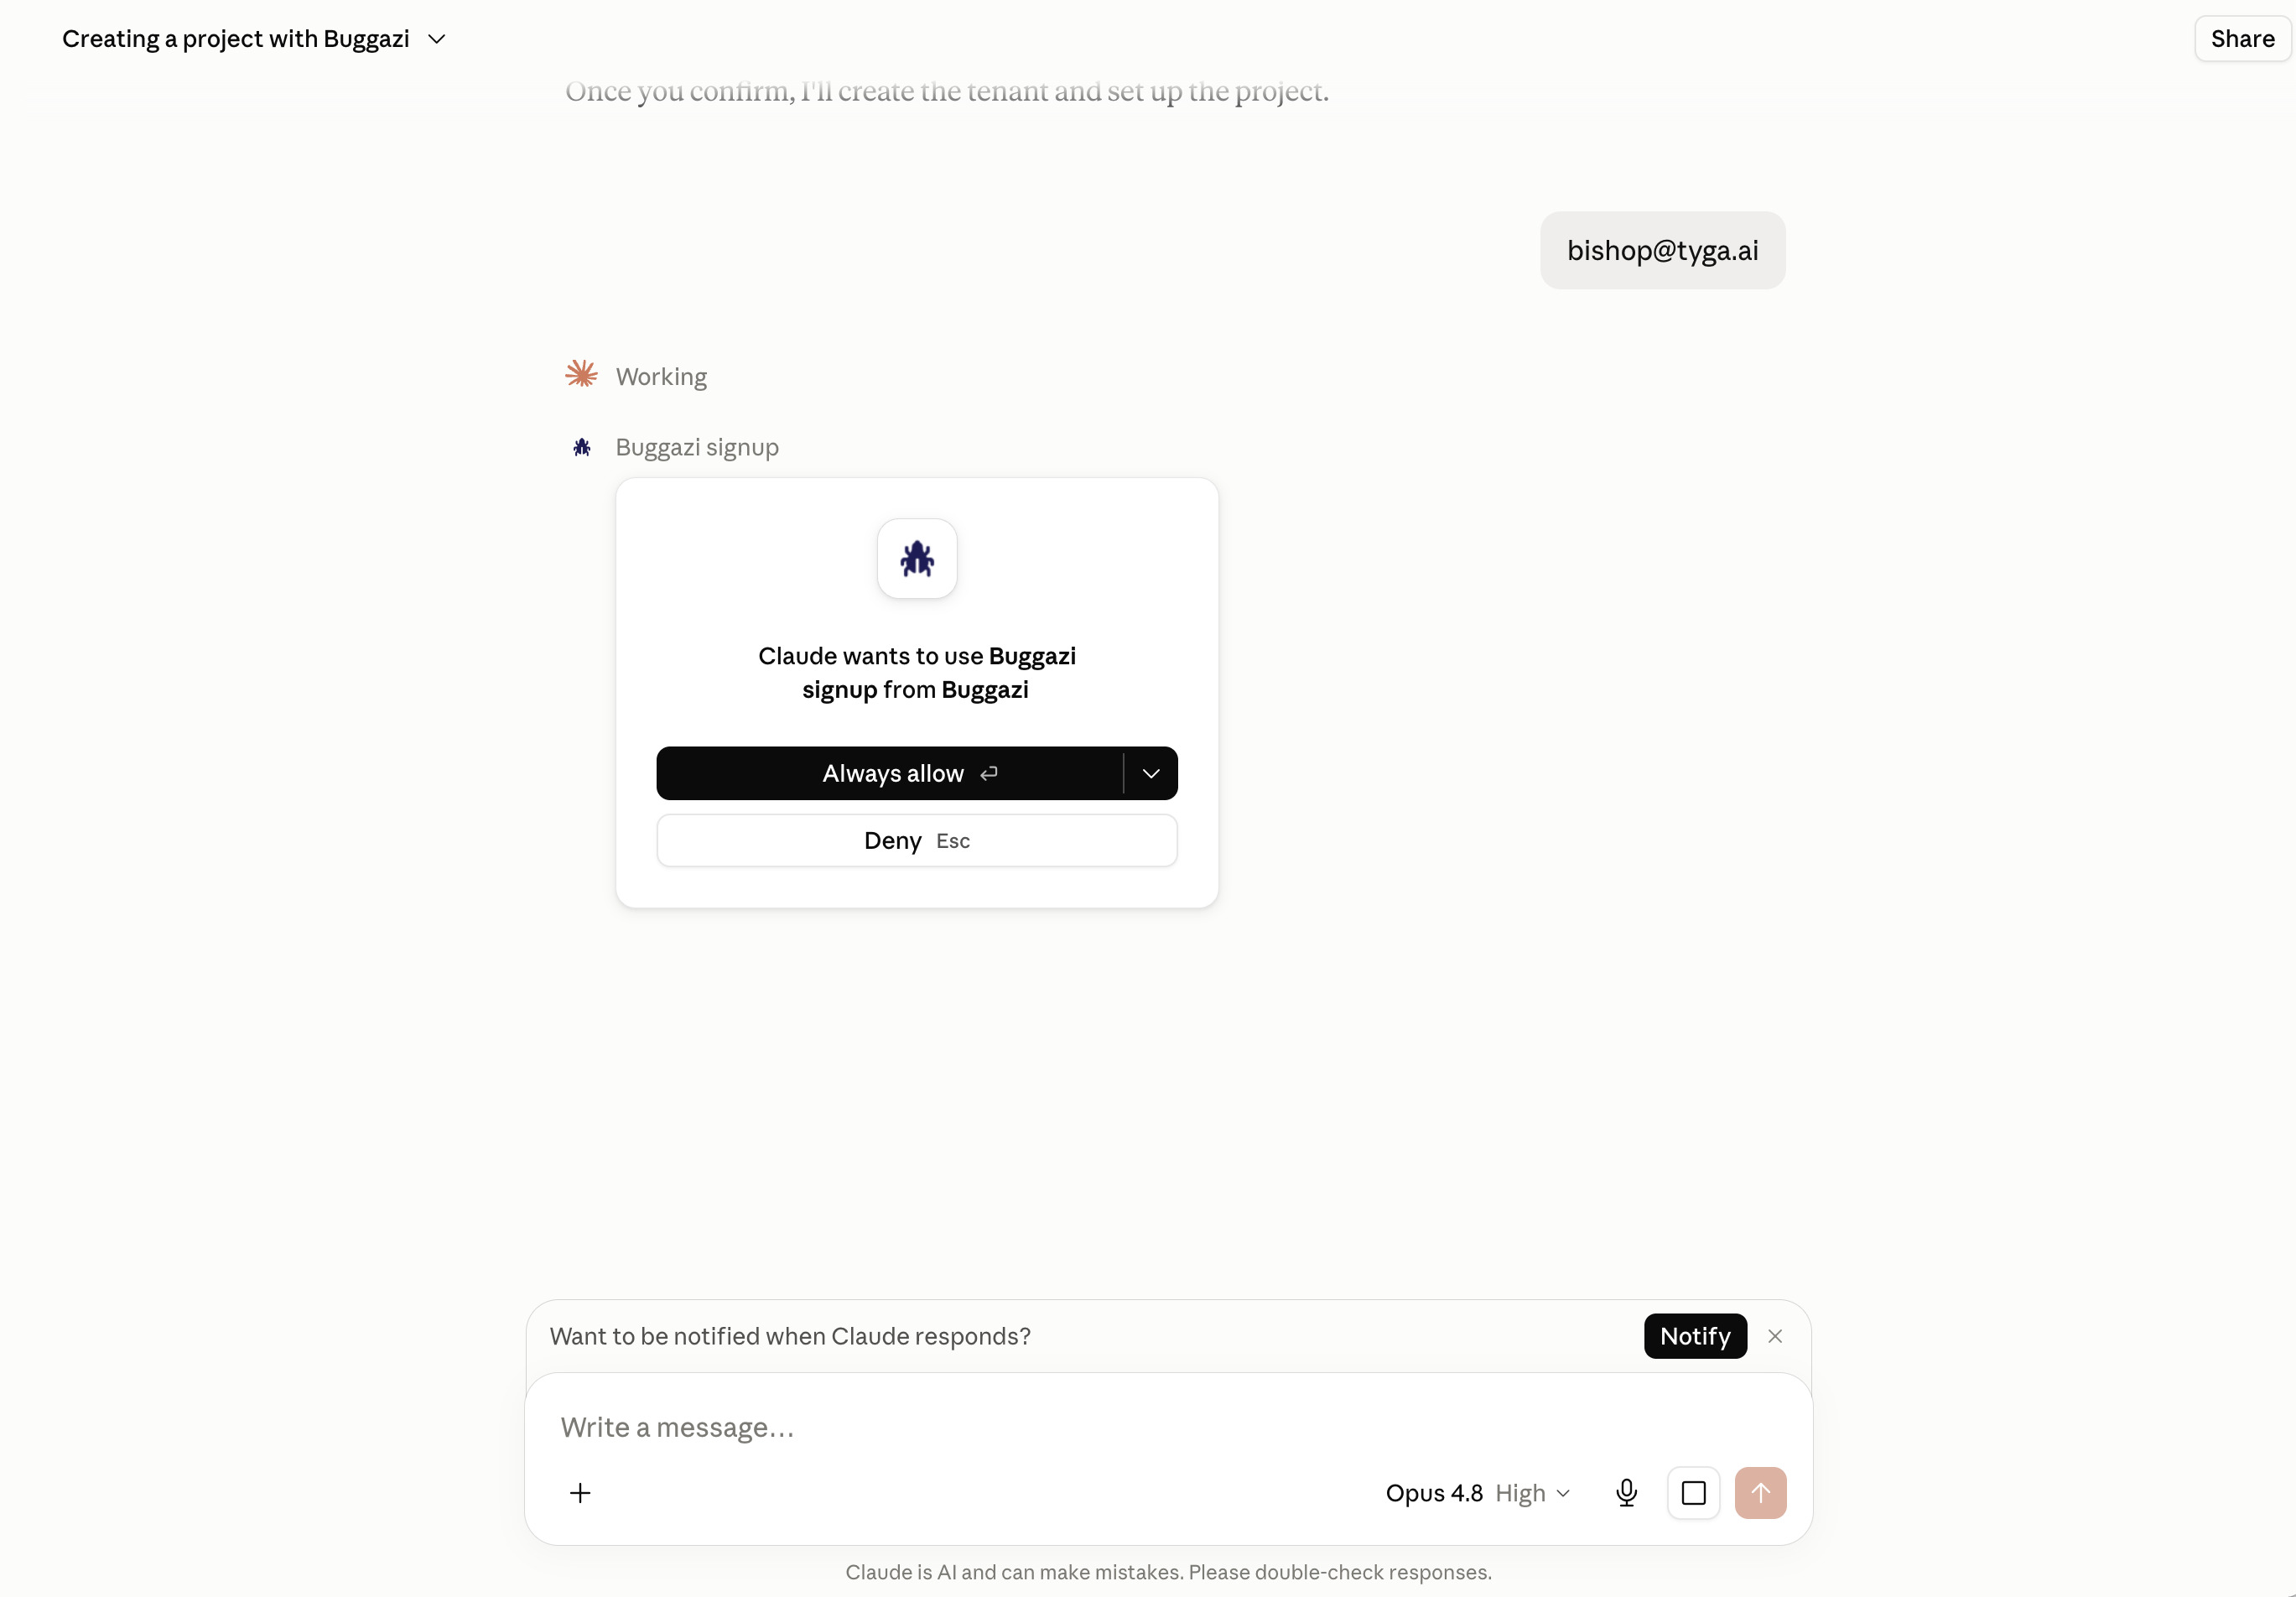
7 Approve the signup call
Give an email if you like (optional — it's where the $0 trial link is sent), then Claude calls buggazi_signup and pauses. Click Allow to run it once.
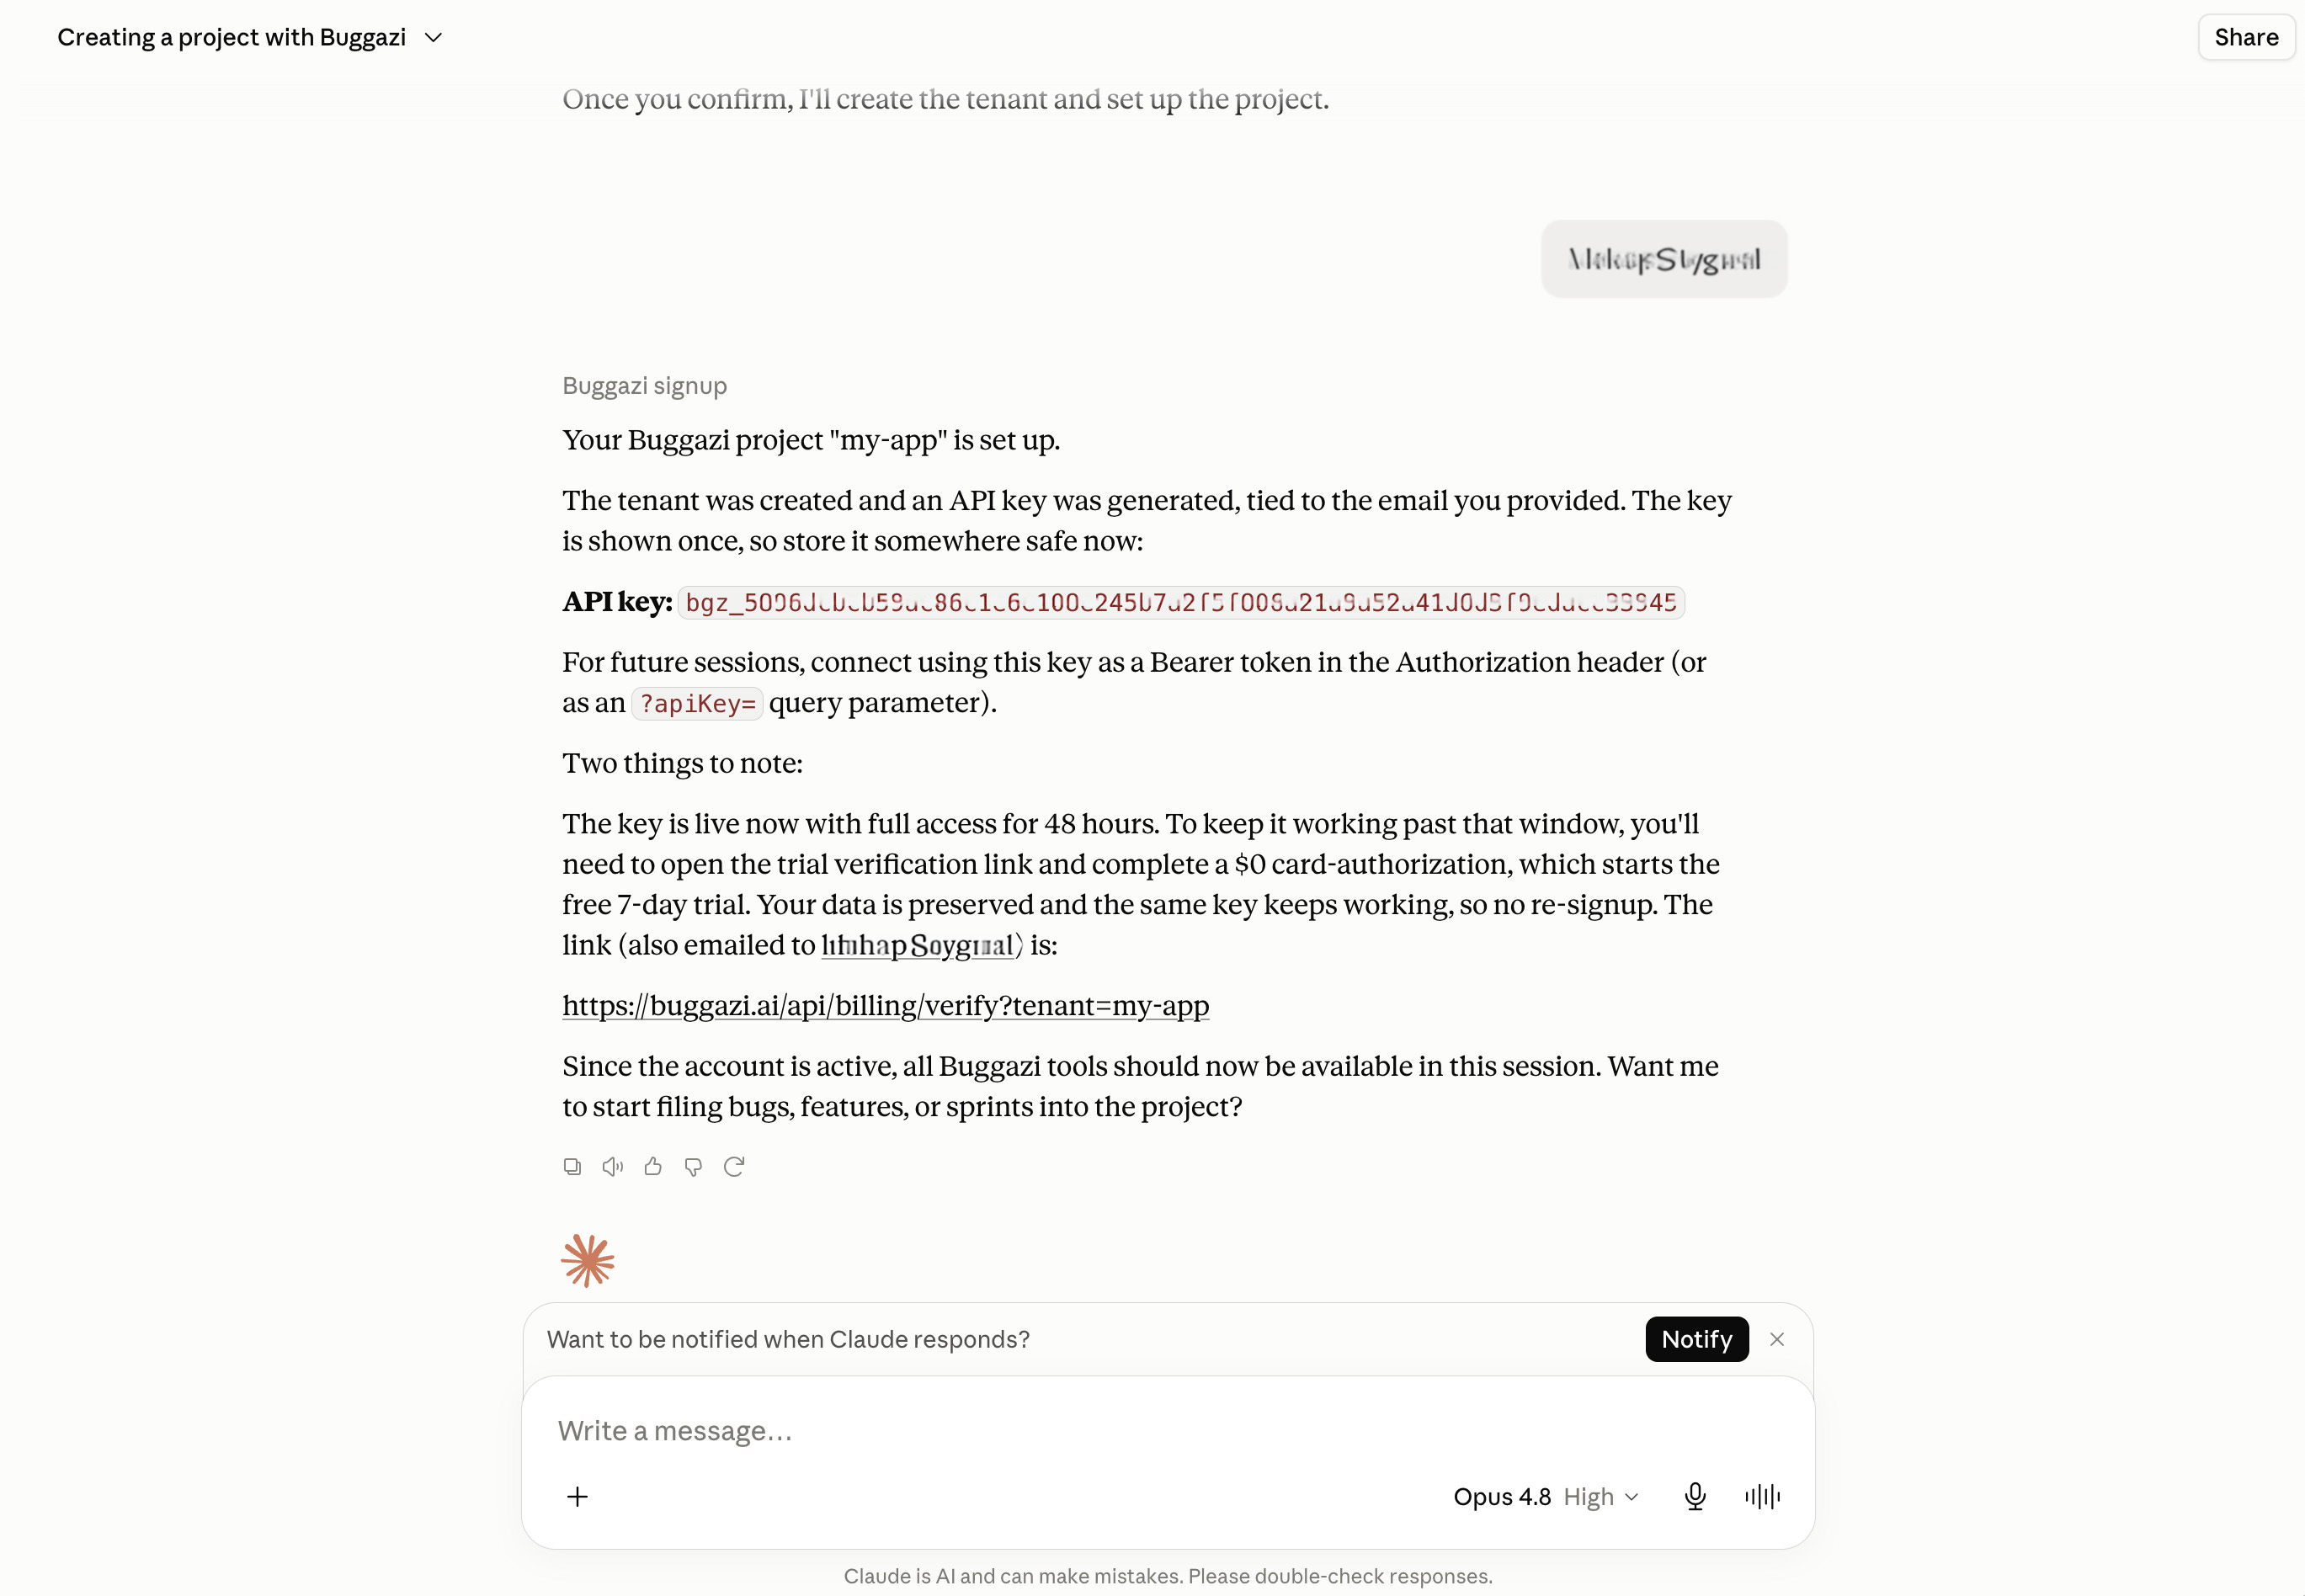
8 Project created — you're live
Your project is created and a one-time API key appears in the tool-result card. All 72 Buggazi tools unlock immediately in the same session. The key is LIVE now with full access for 48 hours — start filing bugs and planning features right away. Before the window closes, a human completes a $0 card-auth to start the free 7-day trial and the same key keeps working, with your data preserved. No email on file? Claude can run buggazi_start_trial to email your human the link.
Authorization: Bearer bgz_YOUR_API_KEY so the full toolset is there from your first message.